• Welcome to Dino Restoration

    Welcome to Dino Restoration

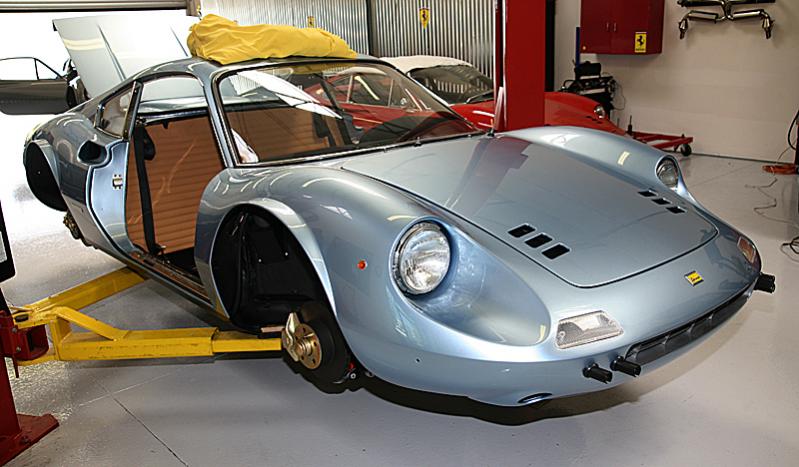
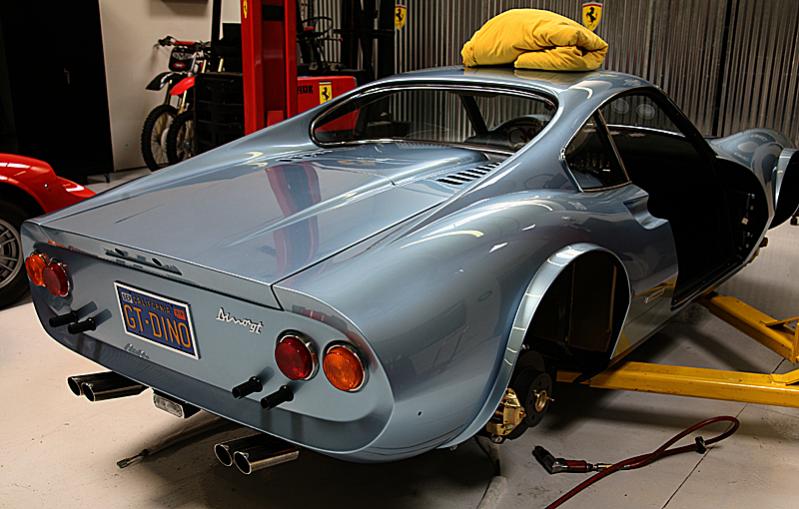
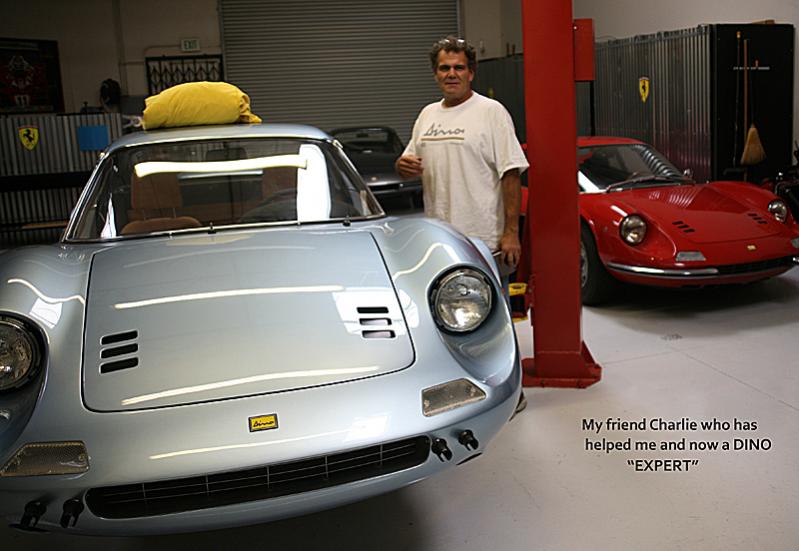
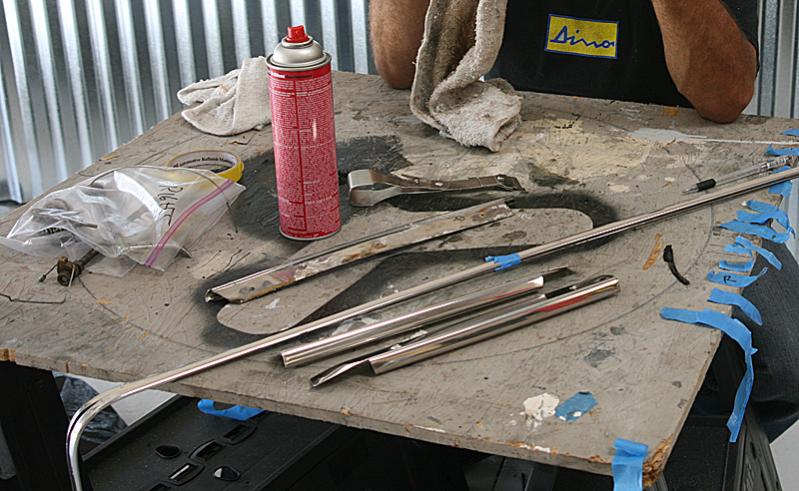
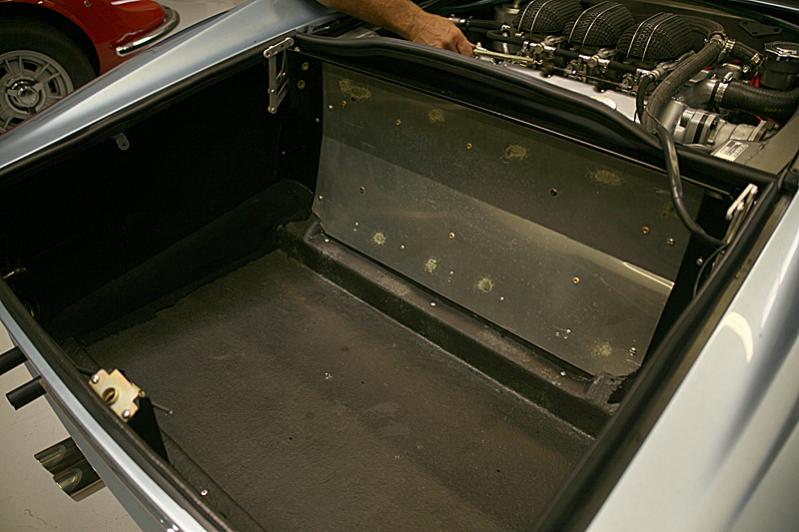
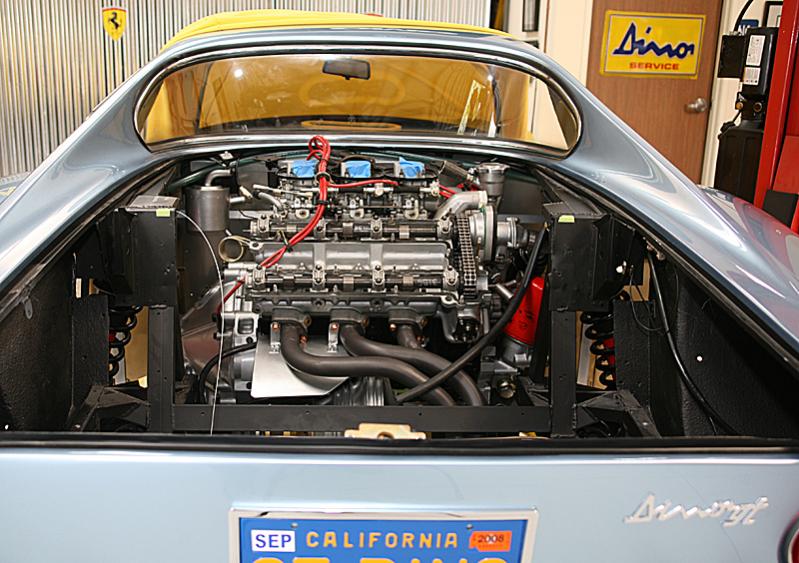
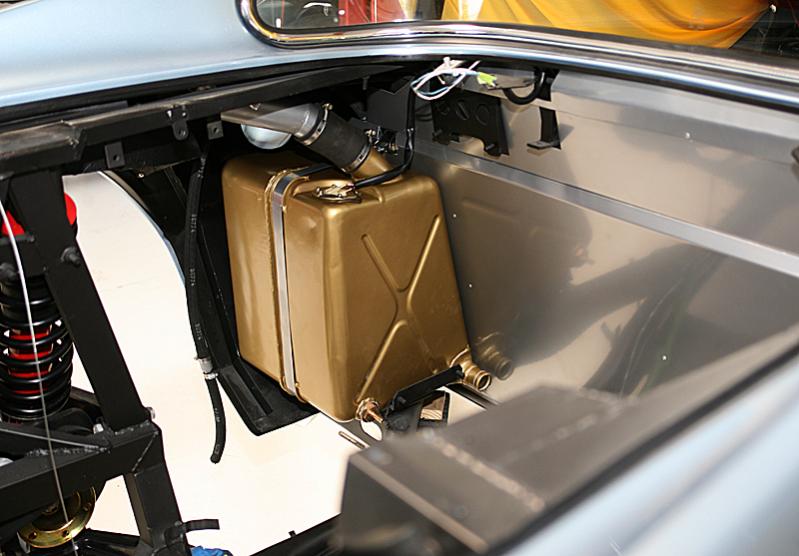
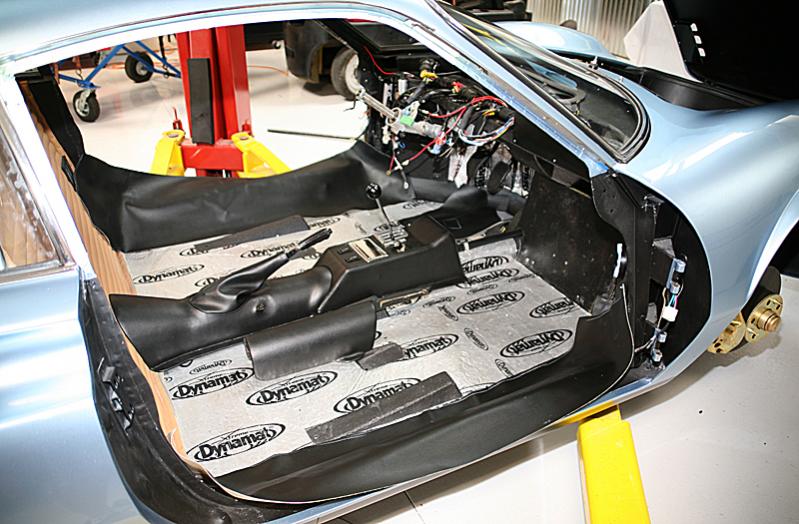
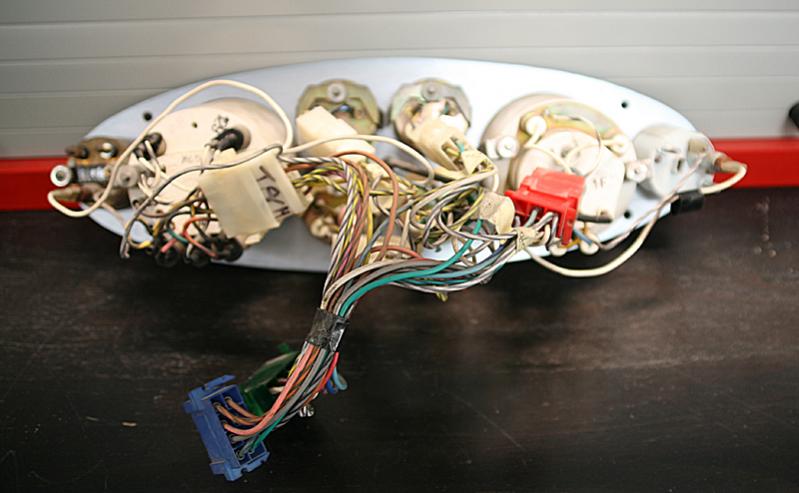
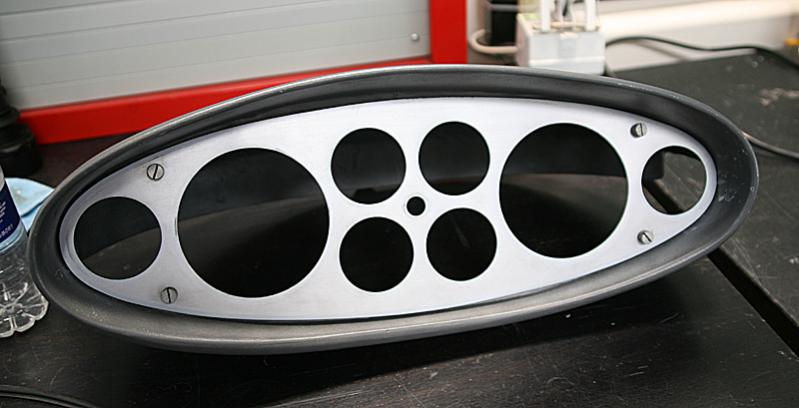
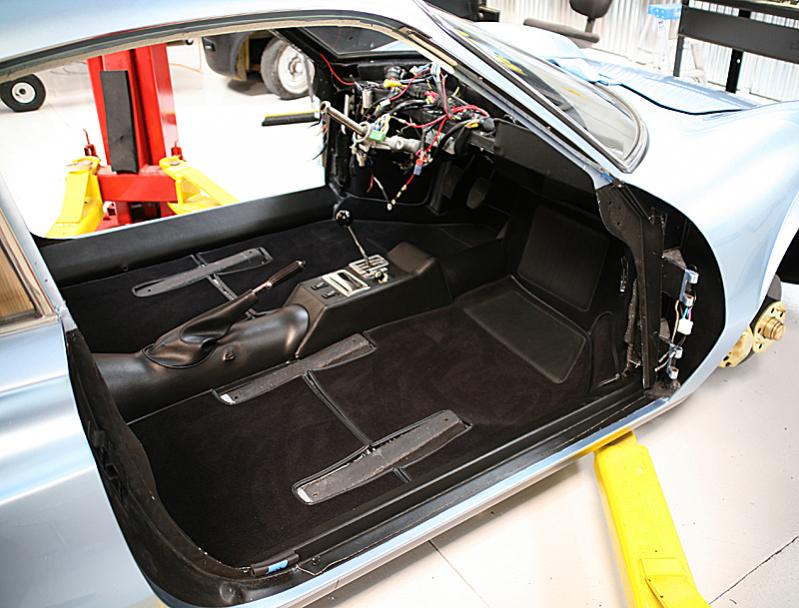
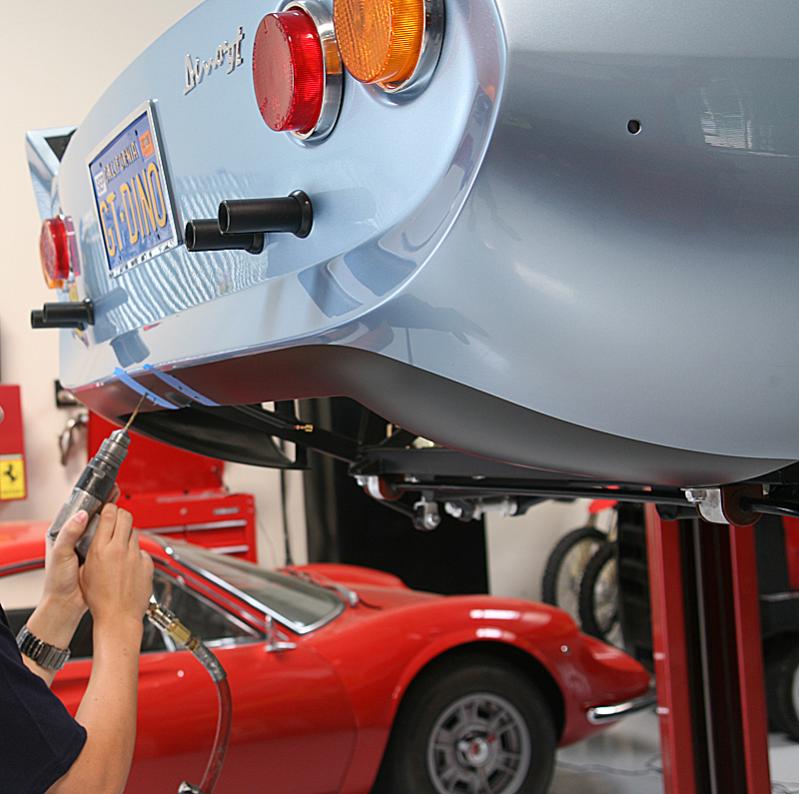
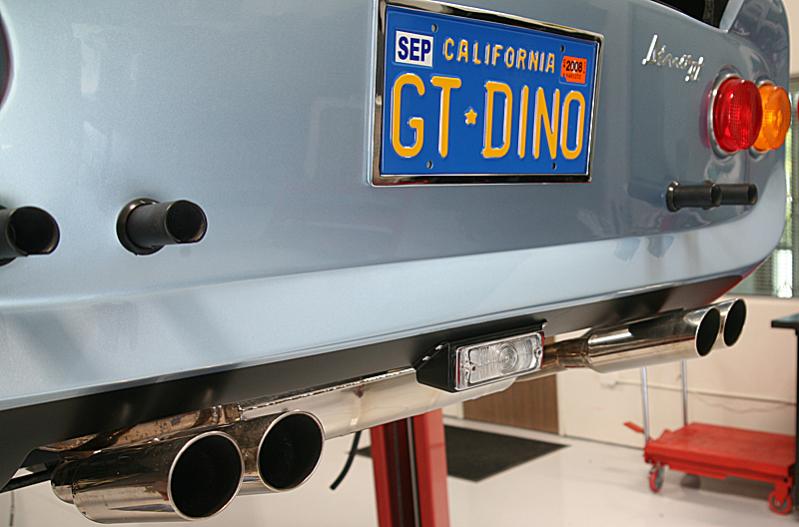
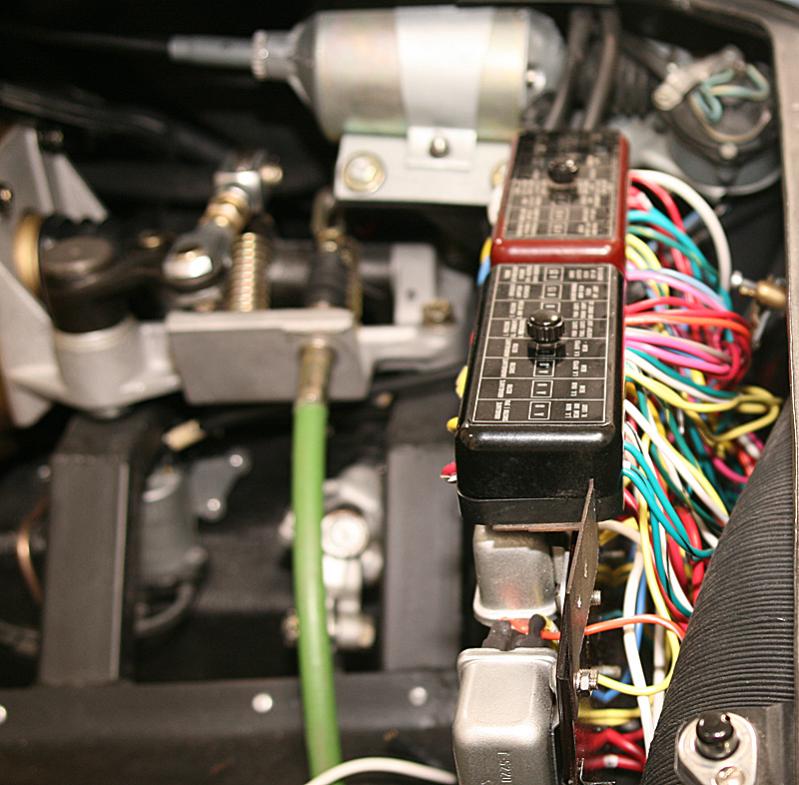
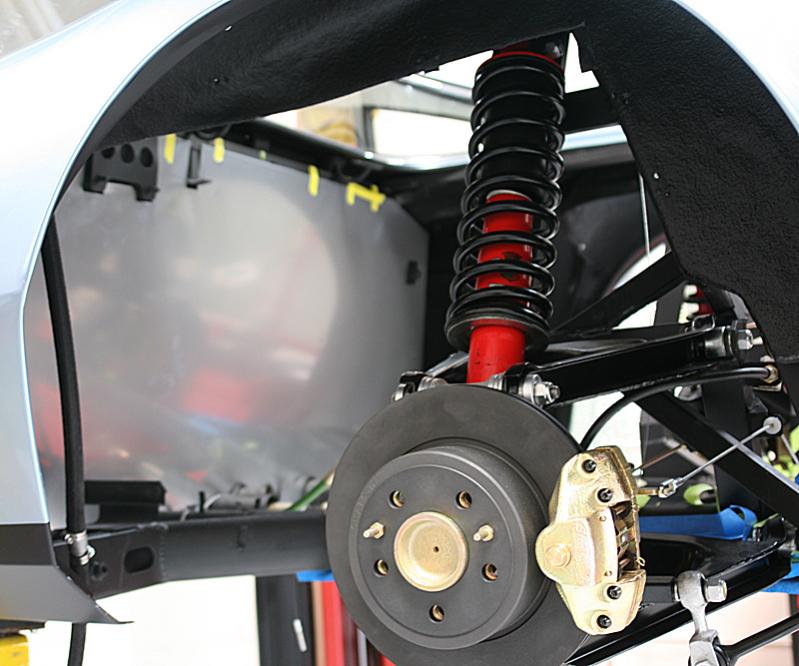
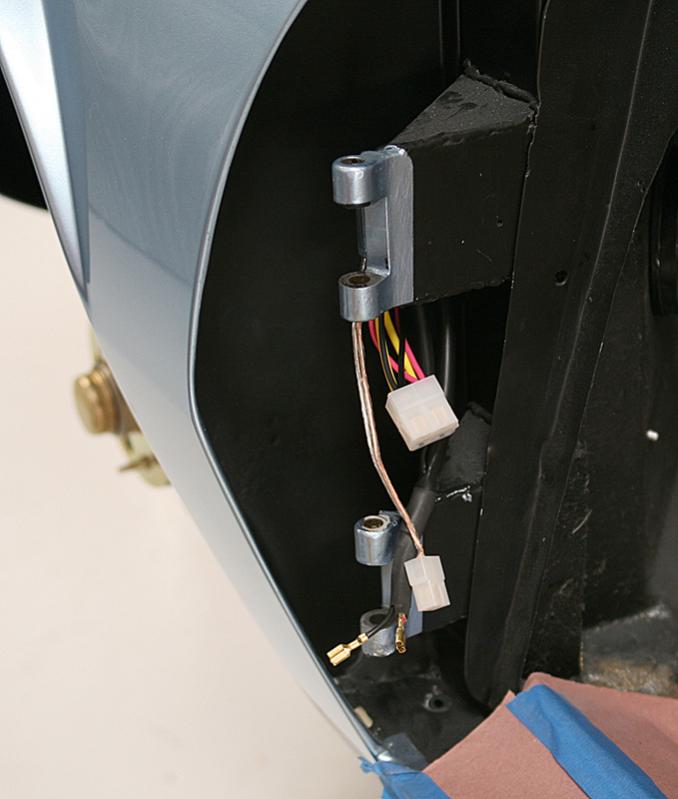
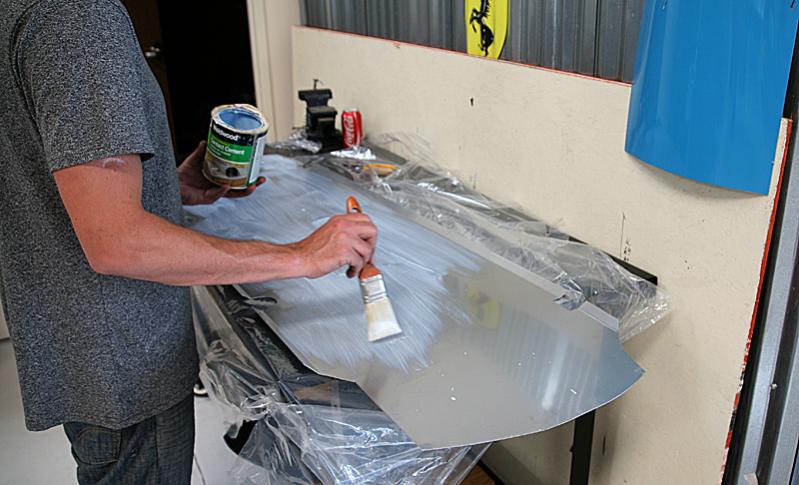
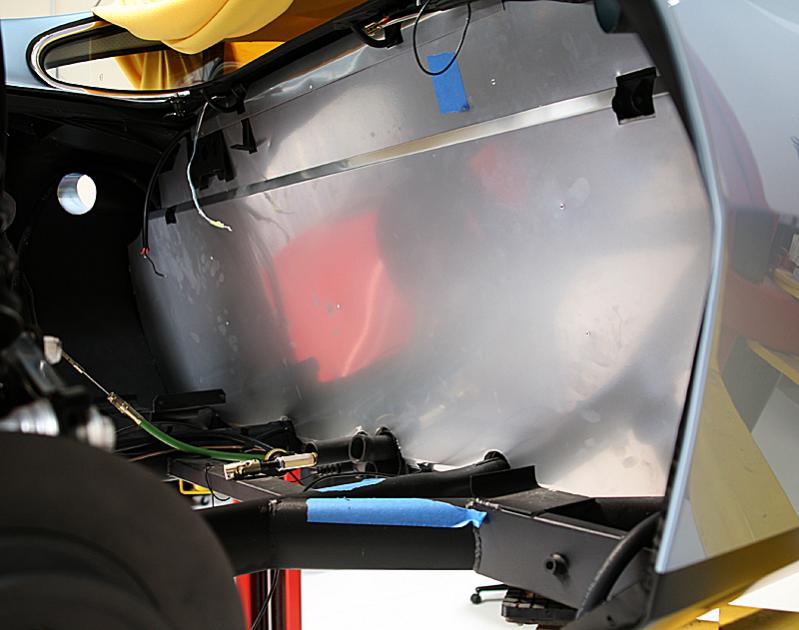
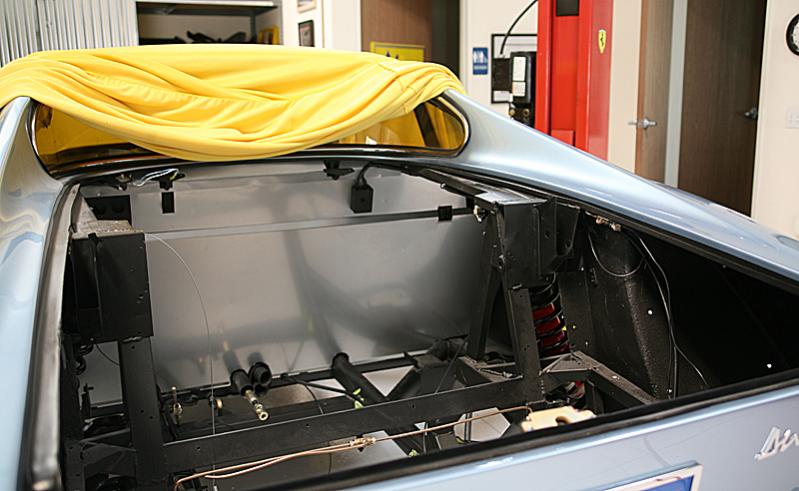
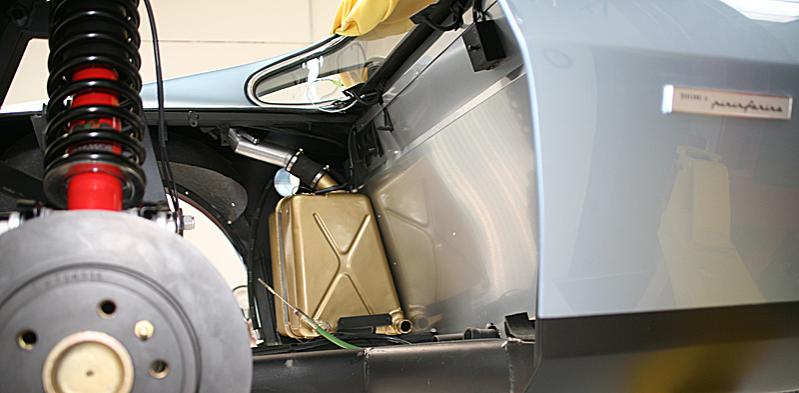
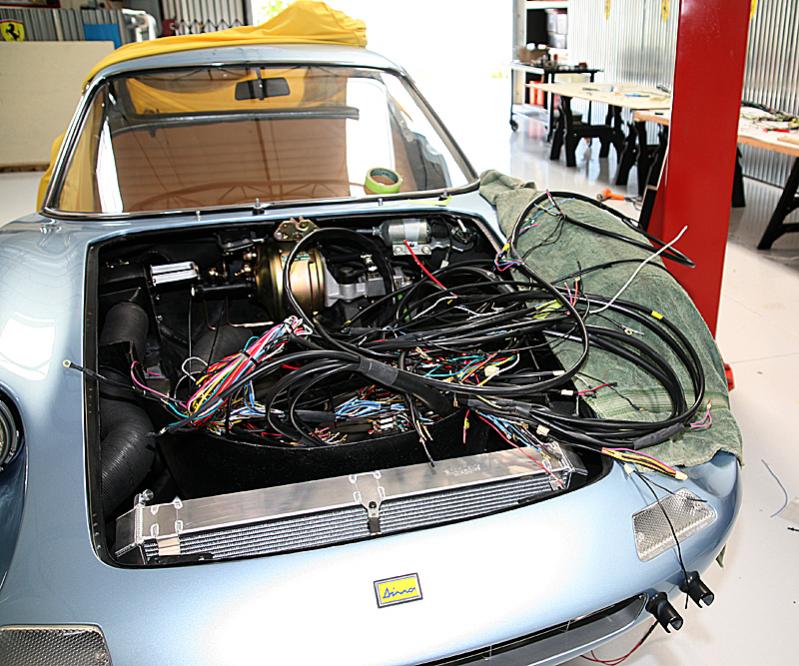
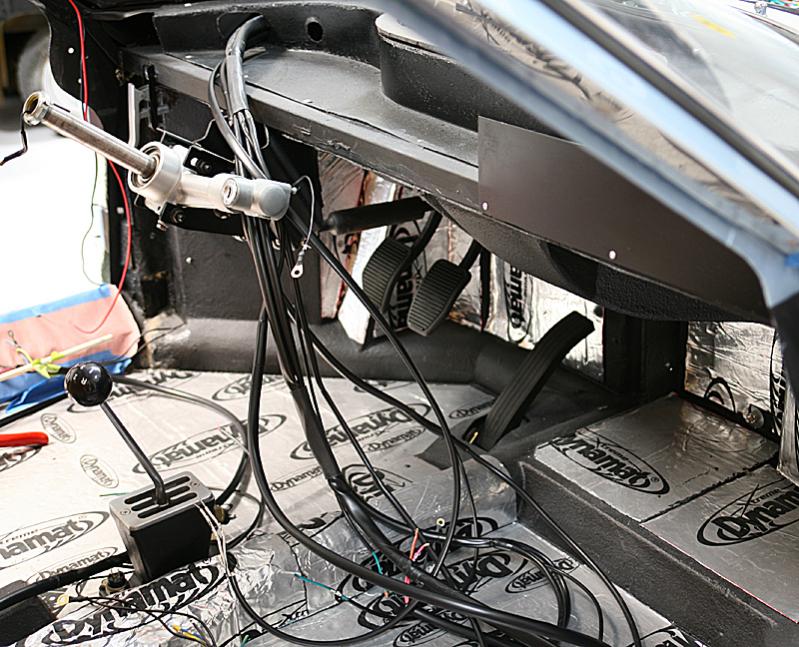
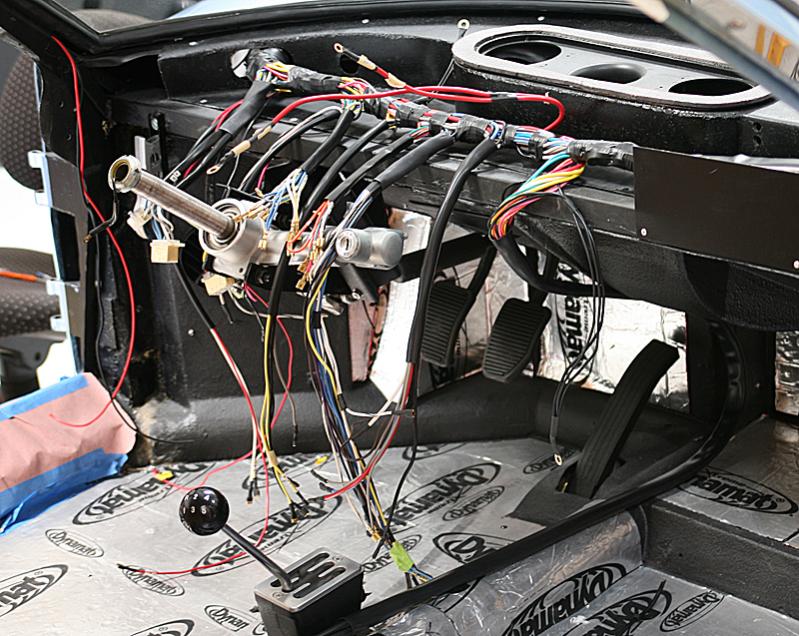
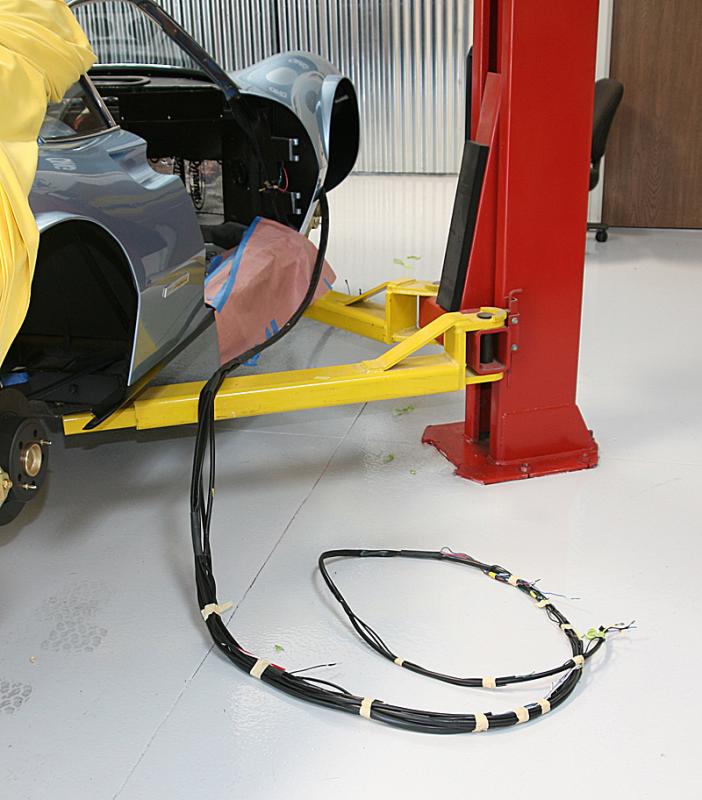
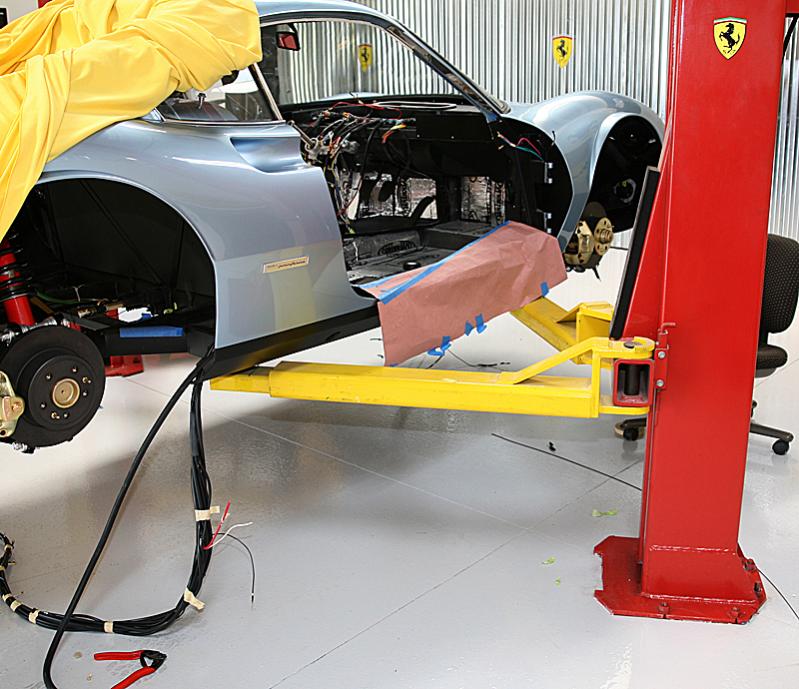
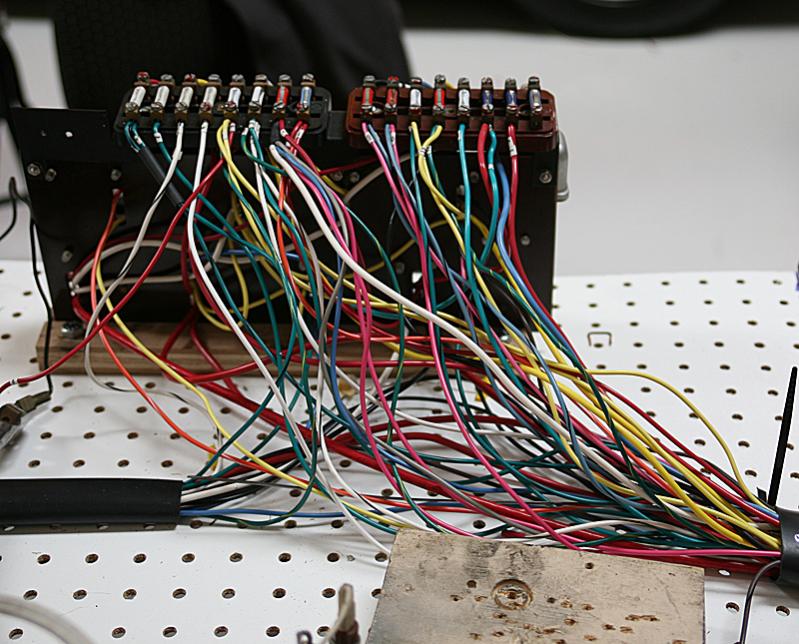
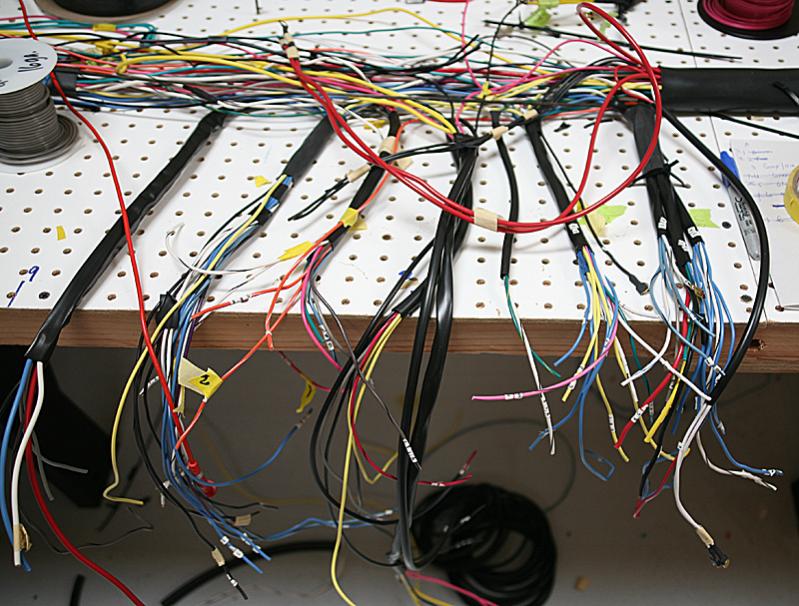
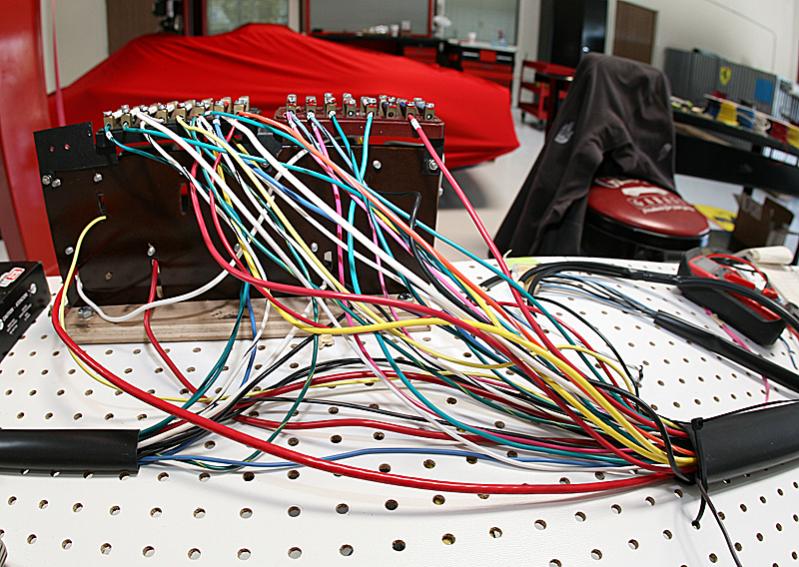
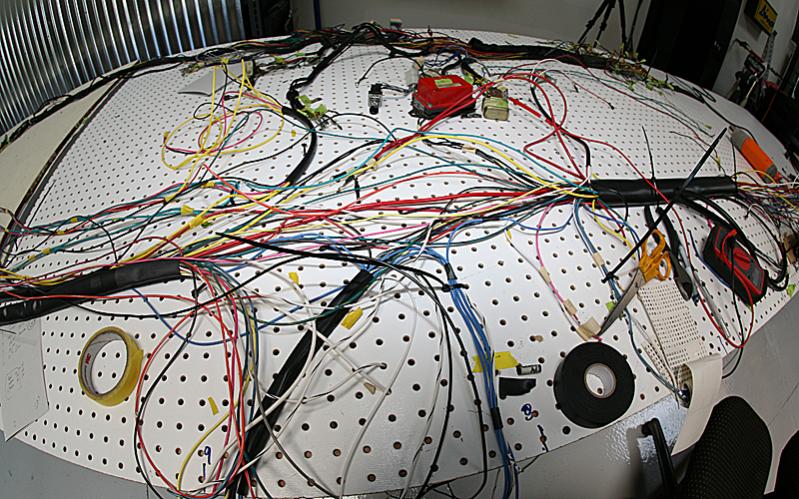
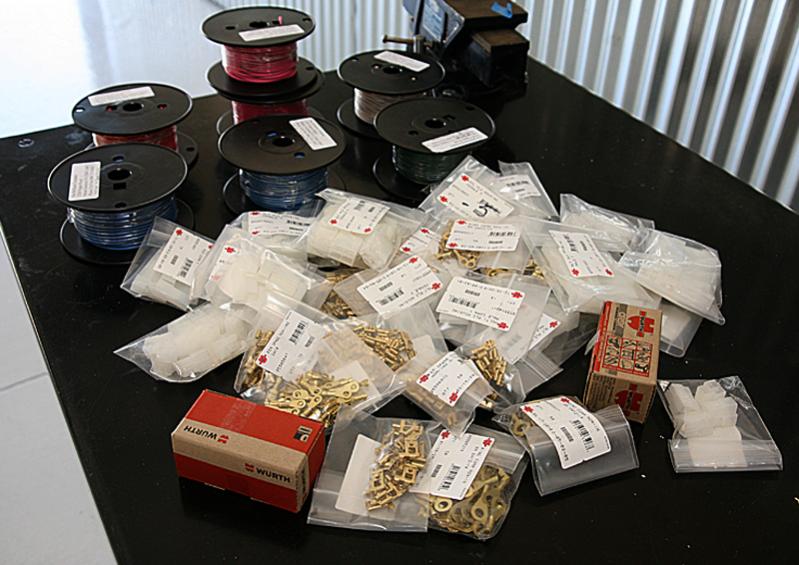
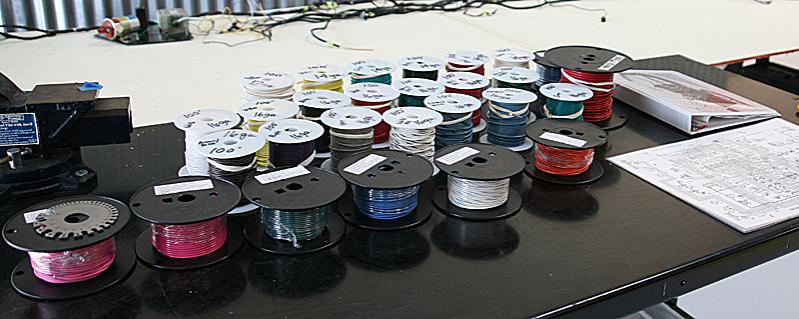
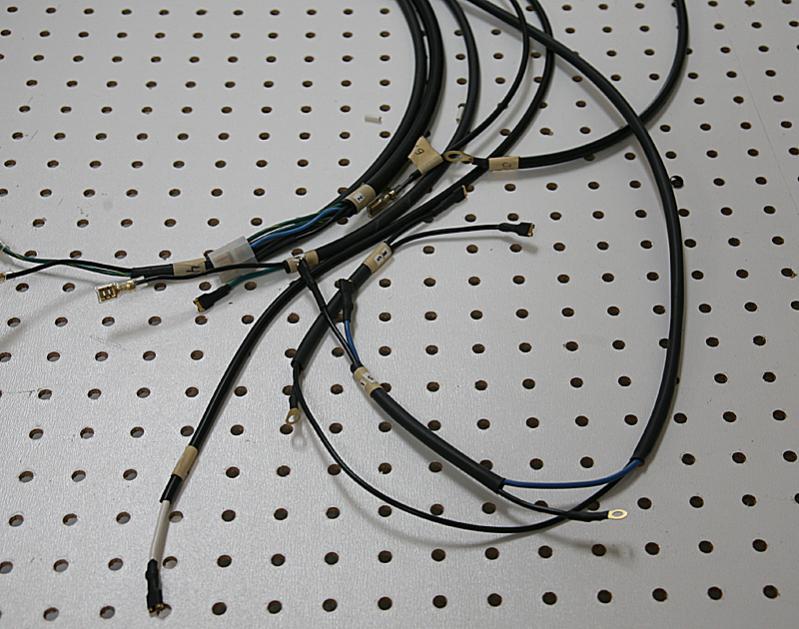
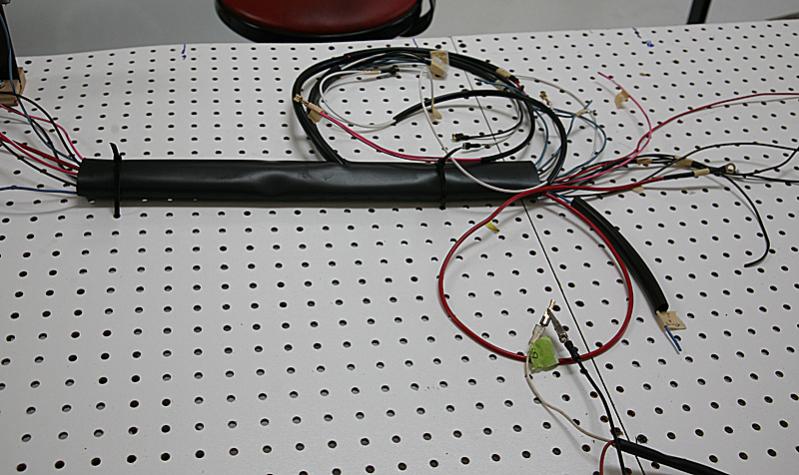
I’m really closing in on the final chapter in the restoration of this car. I am STILL awaiting tires from Coker, they tell me any day. I am really down to the doors and then the dreaded part, testing my wire harness!! My friend Charlie has been helping me with mine and putting Tom’s back together. Jeff really misses helping me, but is starting his career in Austin, Texas with a great new company. The CEO has aDino 206SP!!!! IT was at Monterey last August with a crowd swarming around it.
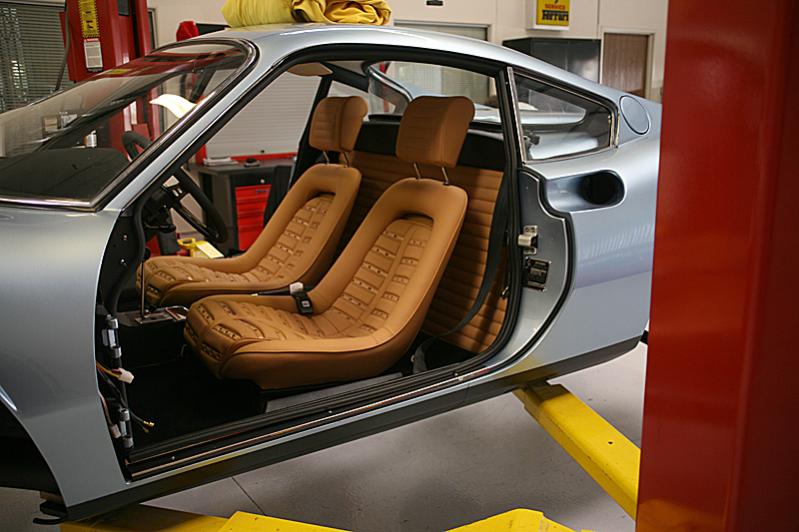
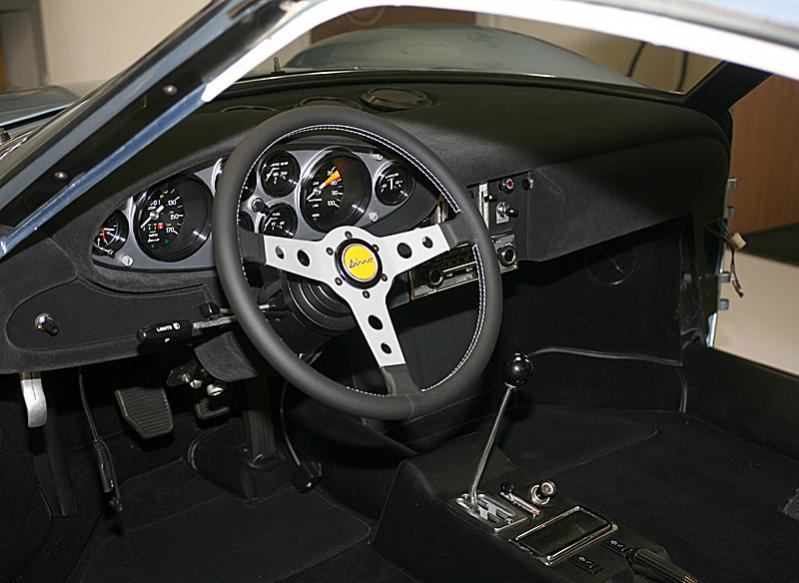
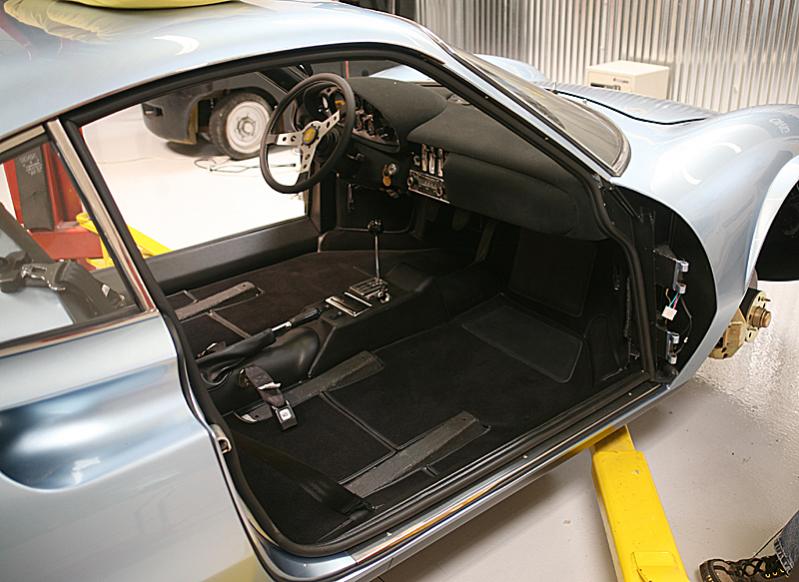
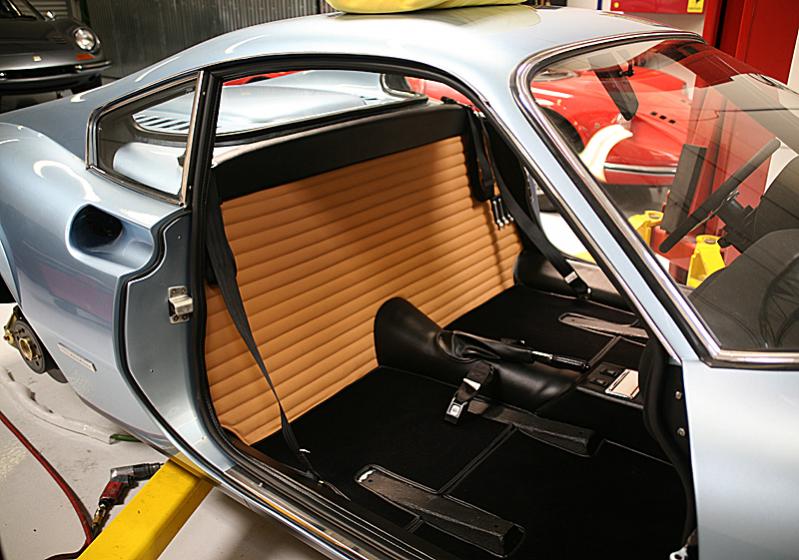
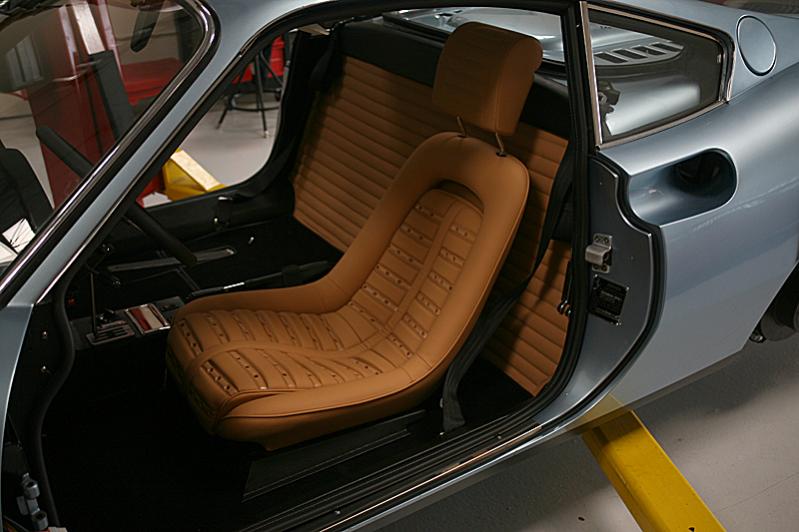
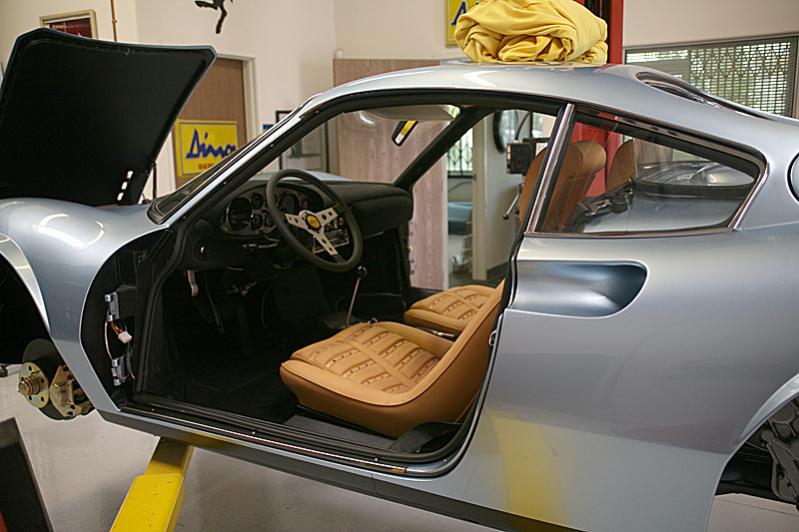
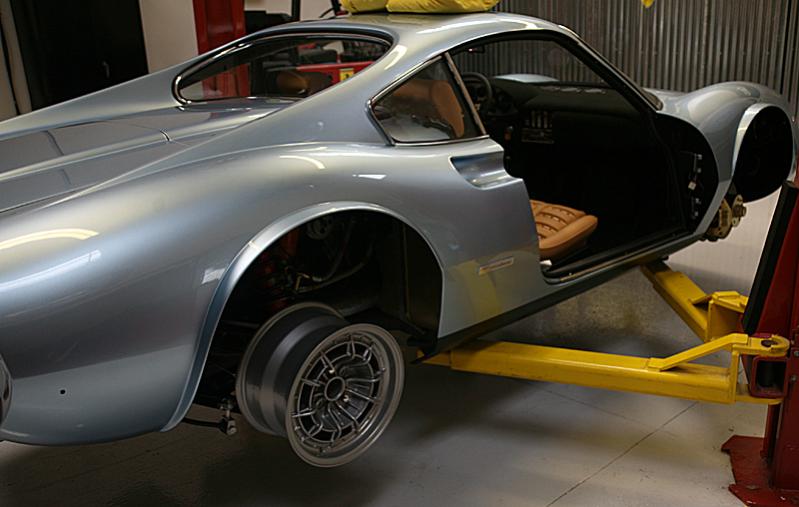
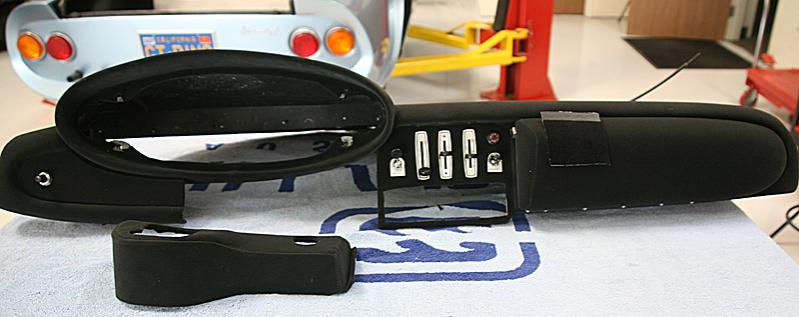
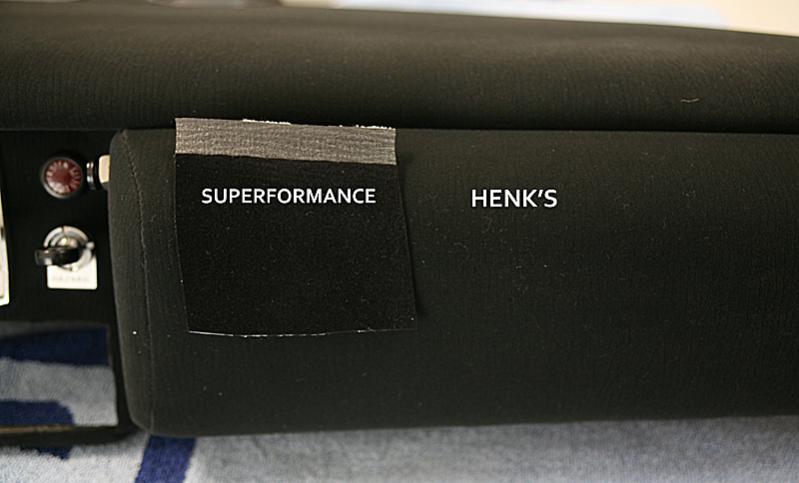
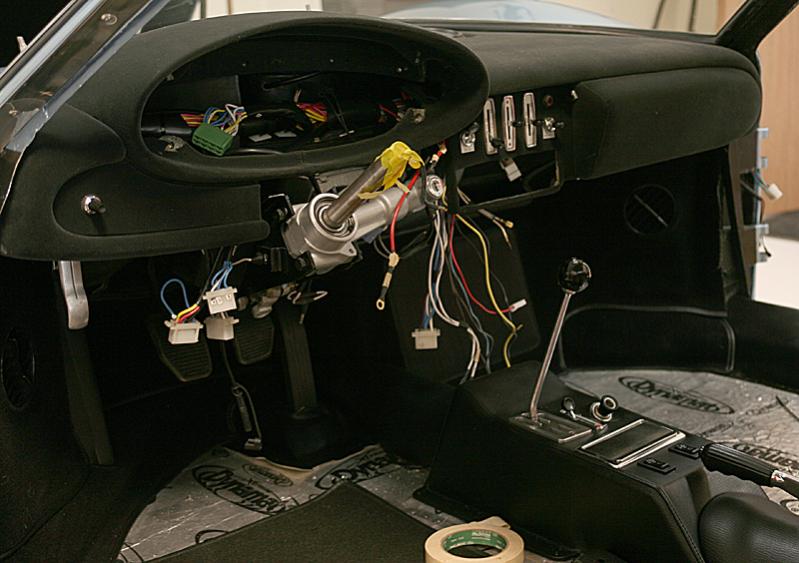
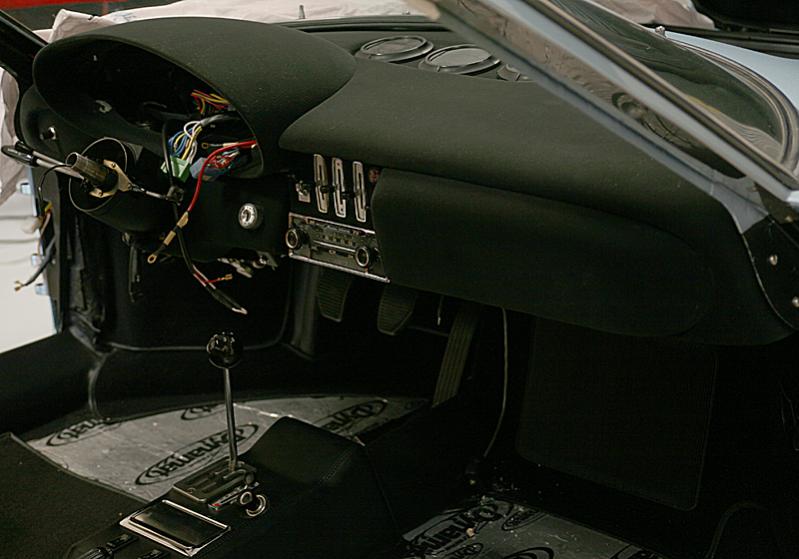
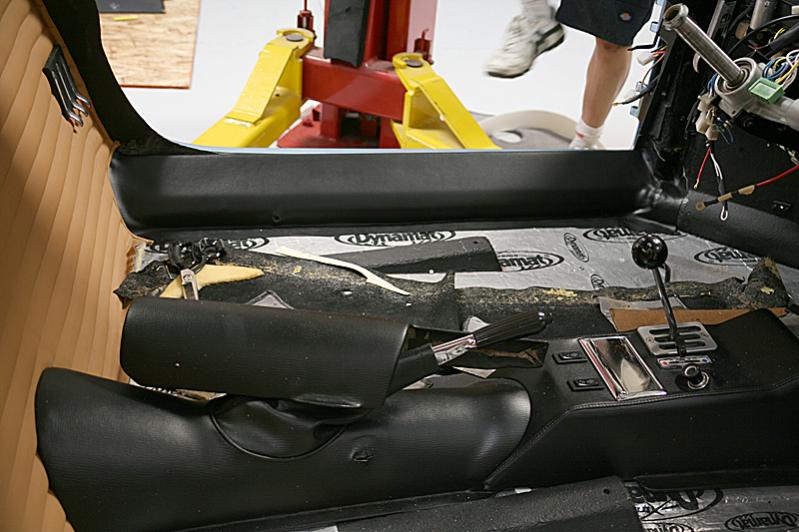
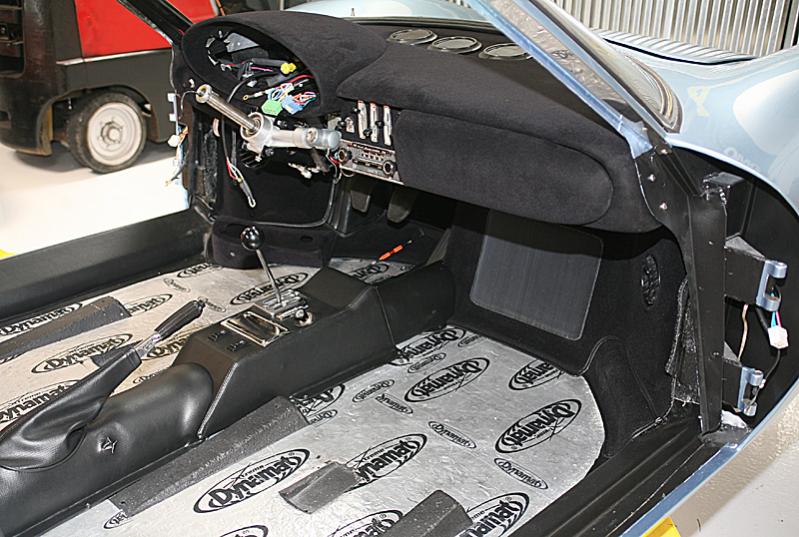
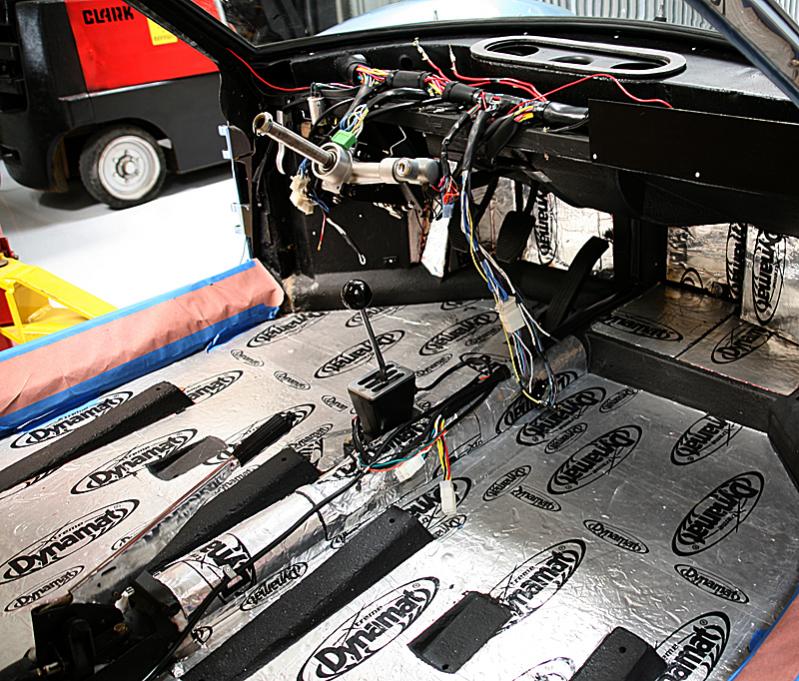
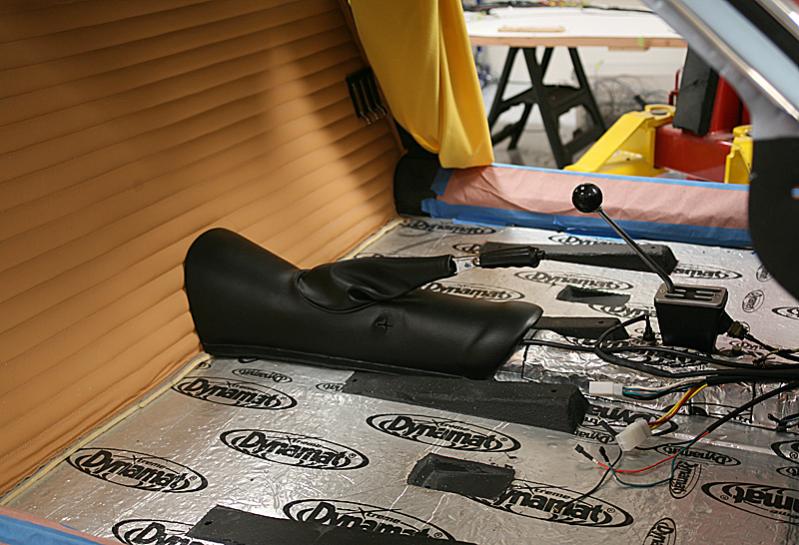
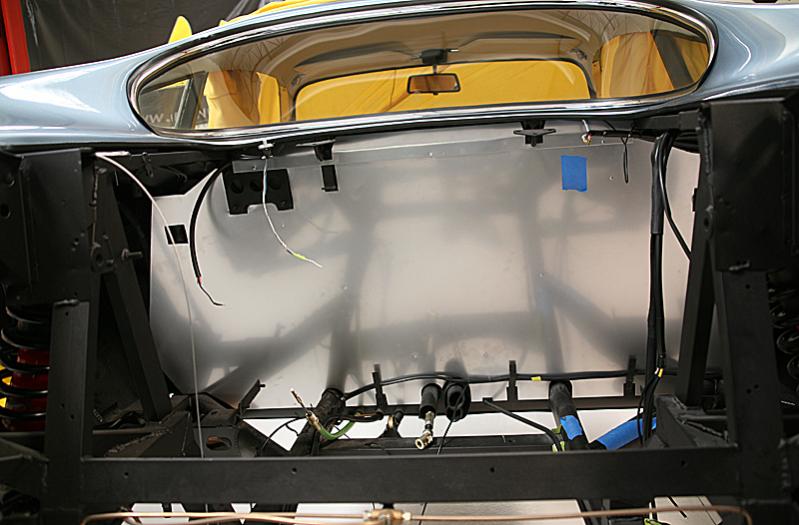
Read more

Some more progress photos, it’s really coming together now. I’m really down to the doors and interior trim pieces.

Read more

Just some progress photos. I have done some of the interior, all the carpet and leather pieces that are glued in place. I did the dash and then I got a sample from Henk and decided to re do it. So I took it out and am starting over. I made some new heat shields and got the motor ready for installation taking off all the items that must come off to fit it back in. There is always drama putting the engine back in and am always so nervous with it hovering in a precarious position over painted surfaces. As it was dangling above I realized I had forgot to remove the dipstick. So out it came along with a quart of oil before I could get it plugged. The engine slid in but I scratched a valve cover. So the valve cover is off while I take care of that. It went in with the alternator on but would of been way easier with it off as after all was in, I had to remove it anyways to put the front header on. You would think on #2 I would know these things. It was a relief getting the engine in and now I can move forward.

Read more

With wiring harness done and installed, I could finally begin work again. I’ve hooked up ewverything I could and the rest just plug in. I got the engine firewall done which was originally fiberglass (aluminum on my 74 GTS)> I replaced with the first layer being aluminum over 1″ closed cell foam and the second sheet has heat material sandwiched in between. Next is the gas tanks, fuel pump etc. Jeff is home for a few weeks after graduating from UVU and I’m going to try and get the engine in before he leaves for his first job in Austin, Texas at an internet company “Cinsay”. The dash will be done shortly and then I can finish the inside. I even ordered tires today! Starting to see light at the end of the tunnel.

Read more

I finally finished the wiring harness and have tripled and quadrupled checking each connection. I am still apprehensive that it will all work. I do have one stray wire that I can not figure out where it goes. It is a white and black wire that originates from one of the 2 plugs for the gauges. One plug has 2 Black and white wires coming out of the same connection. One wire goes to the dash light and the other I have no clue. It obviously goes to another light??? All other wires are accounted for. I didn’t put connectors on some of them as I thought better to make them a little long and cut in place. That’s one job I wouldn’t want to do again for a long while!!

Read more

More wiring! I’m now dreaming it at night. Not a good sign. I checked every wire from the old old matching with the new at the fuse block to make sure there were no goof ups there at least. Everything check out with one extra wire I have to track down. 8 hours today just on the fuse blocks and relays. I hope this all works, or at least 98%.

Read more

Still working on the wiring harness, can be mind boggling at times! I hope to finish it this week. Then take a LONG break.

Read more

I’ve started the wiring harness. It requires some serious concentration and is a slow process. I used the following suppliers for those of you who are going to DIY. Most of the wire colors and sizes were available frome Rhode Island Wiring company. I also used the Brillman Co. for a few of the wire colors. Wurth has most of the connectors needed and I used McMasters for heat shrink and a few miscellaneous items.
Read more